 |
|
 |
|
 |
|
 |
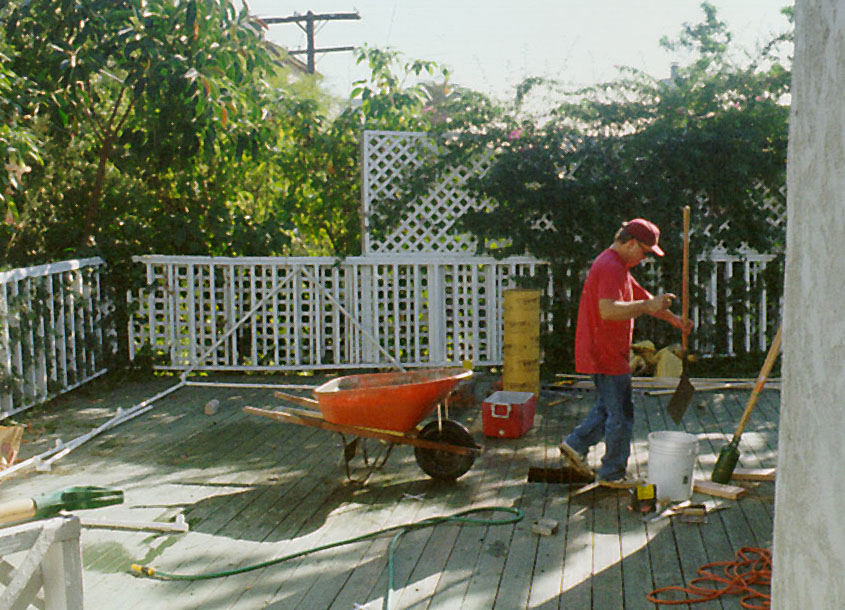
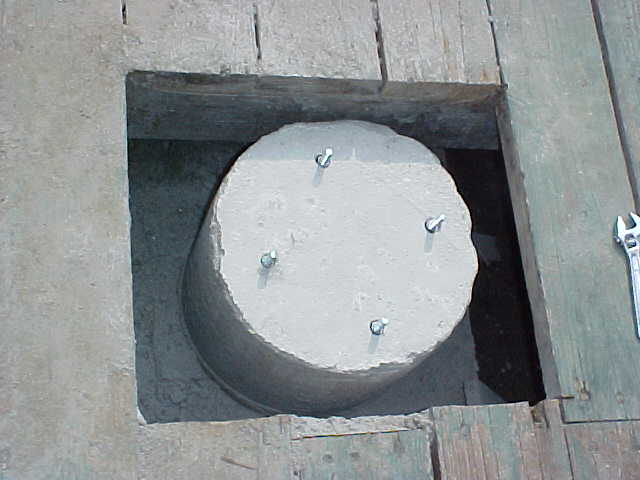
| Initial 14"x16" hole cut into
wooden deck. Note the "post hole digger" double-shovel device at the far
right; Mr. J. Tompkins main observatory contractor! |
|
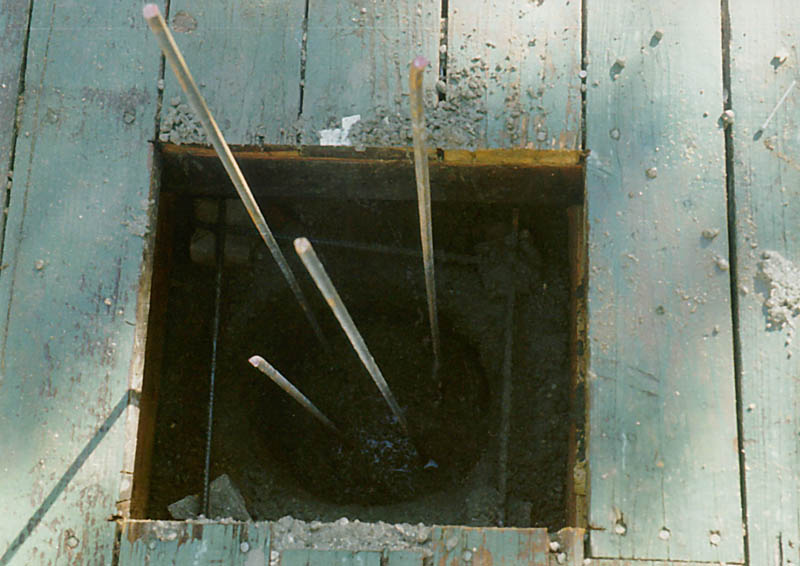
Cylindrical 12" diameter hole
dug 4 feet deep into the soil, with top portion surrounded within a 13"x13"
wooden & rebar framework |
|
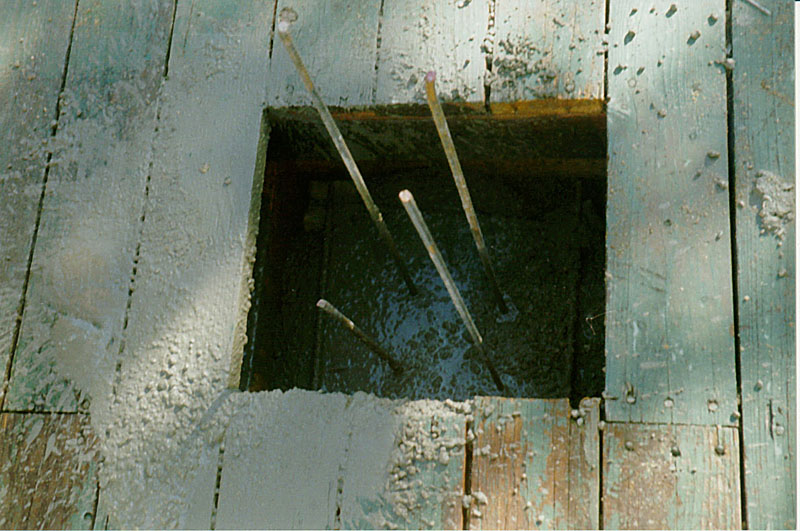
Cement poured into hole up to
the rim of the rectangular wooden/rebar framework. It is after this point,
before the cement is set, that the 12" diameter sonotube is placed |
|
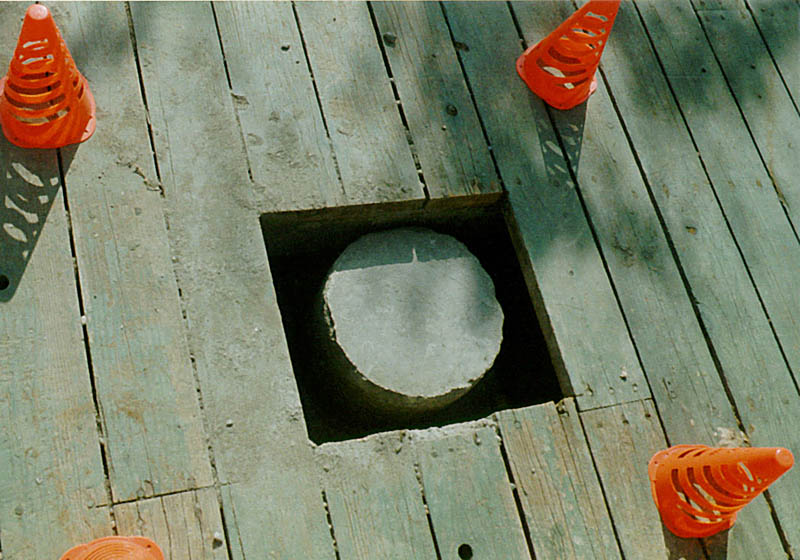
Cement in hole/rectangular
framework and sonotube is set. The cardboard 1foot high 12" diameter
cardboard sonotube was removed just prior to this picture. |
 |
|
 |
|
 |
|
 |
| Aluminum (Al) cement-to-pier cap.
This connects the cement pier to the ap1200's pier |
|
1/2" diameter bolts embedded
into the pier with cement anchor sleves |
|
Al cement-to-pier cap
connected to cement pier. |
|
Three foot (36") Al pier
connected to Al cement-to-pier cap with AP1200 and 13" classical cassegrain |
 |
|
 |
|
 |
|
 |
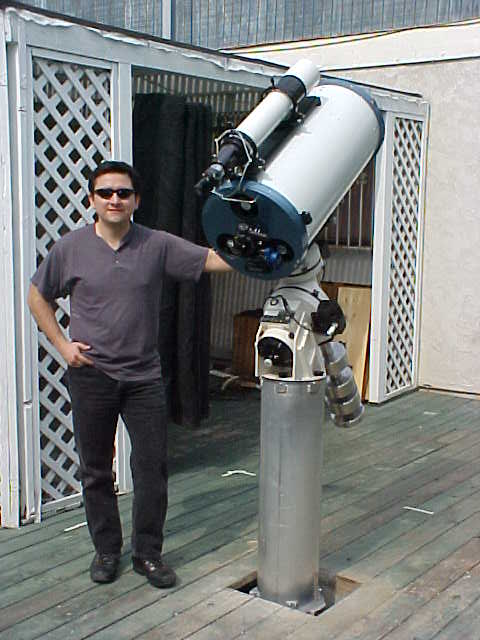
| Myself standing
next to the finished, set pier |
|
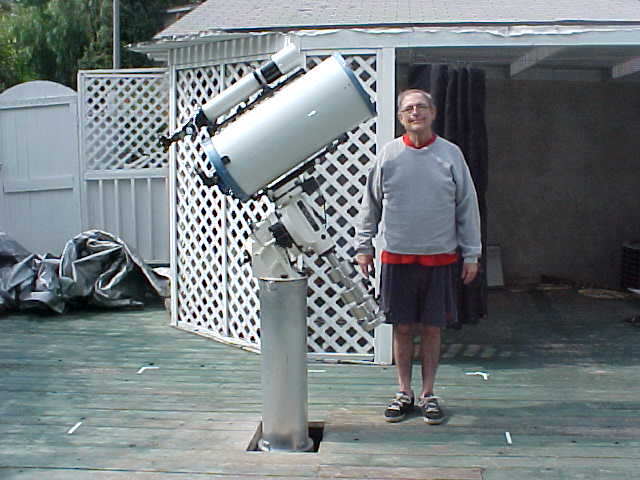
My 6'4" dad next
to the telescope/pier |
|
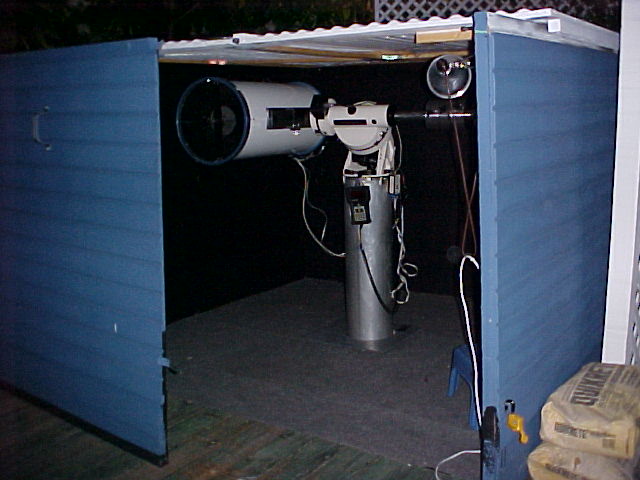
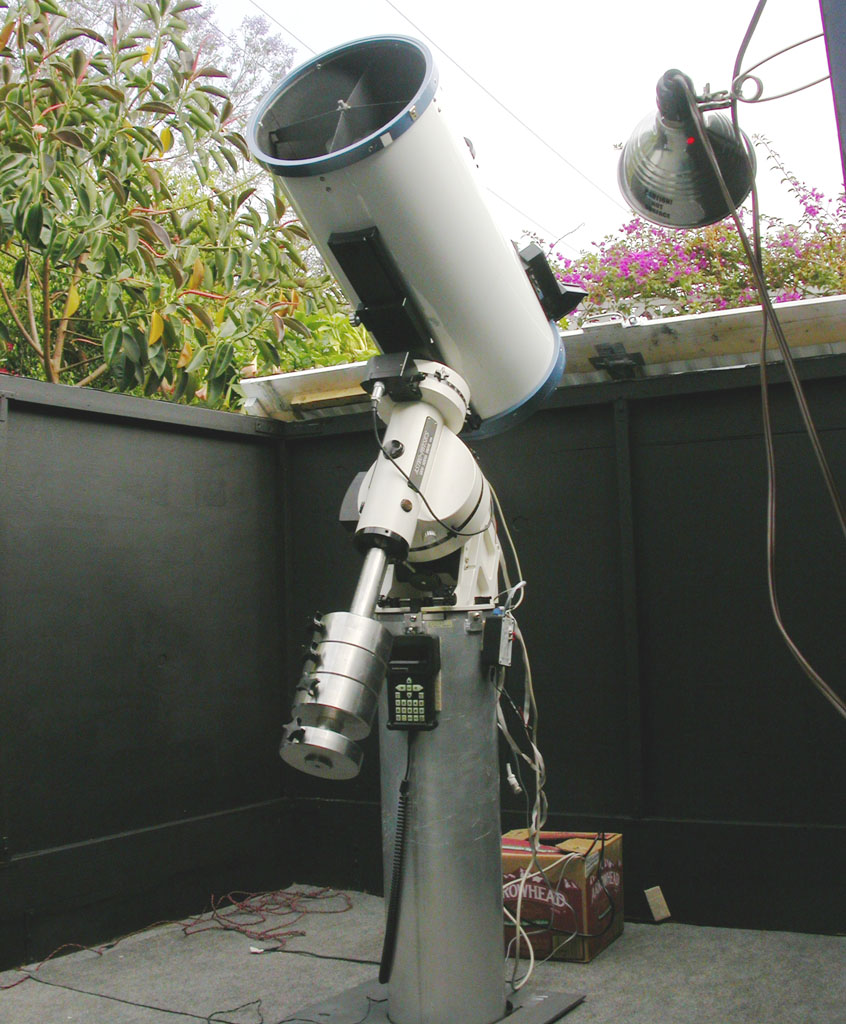
A look at the
telescope/mount in its stowed position ("AP Mount's Park 1" position) |
|
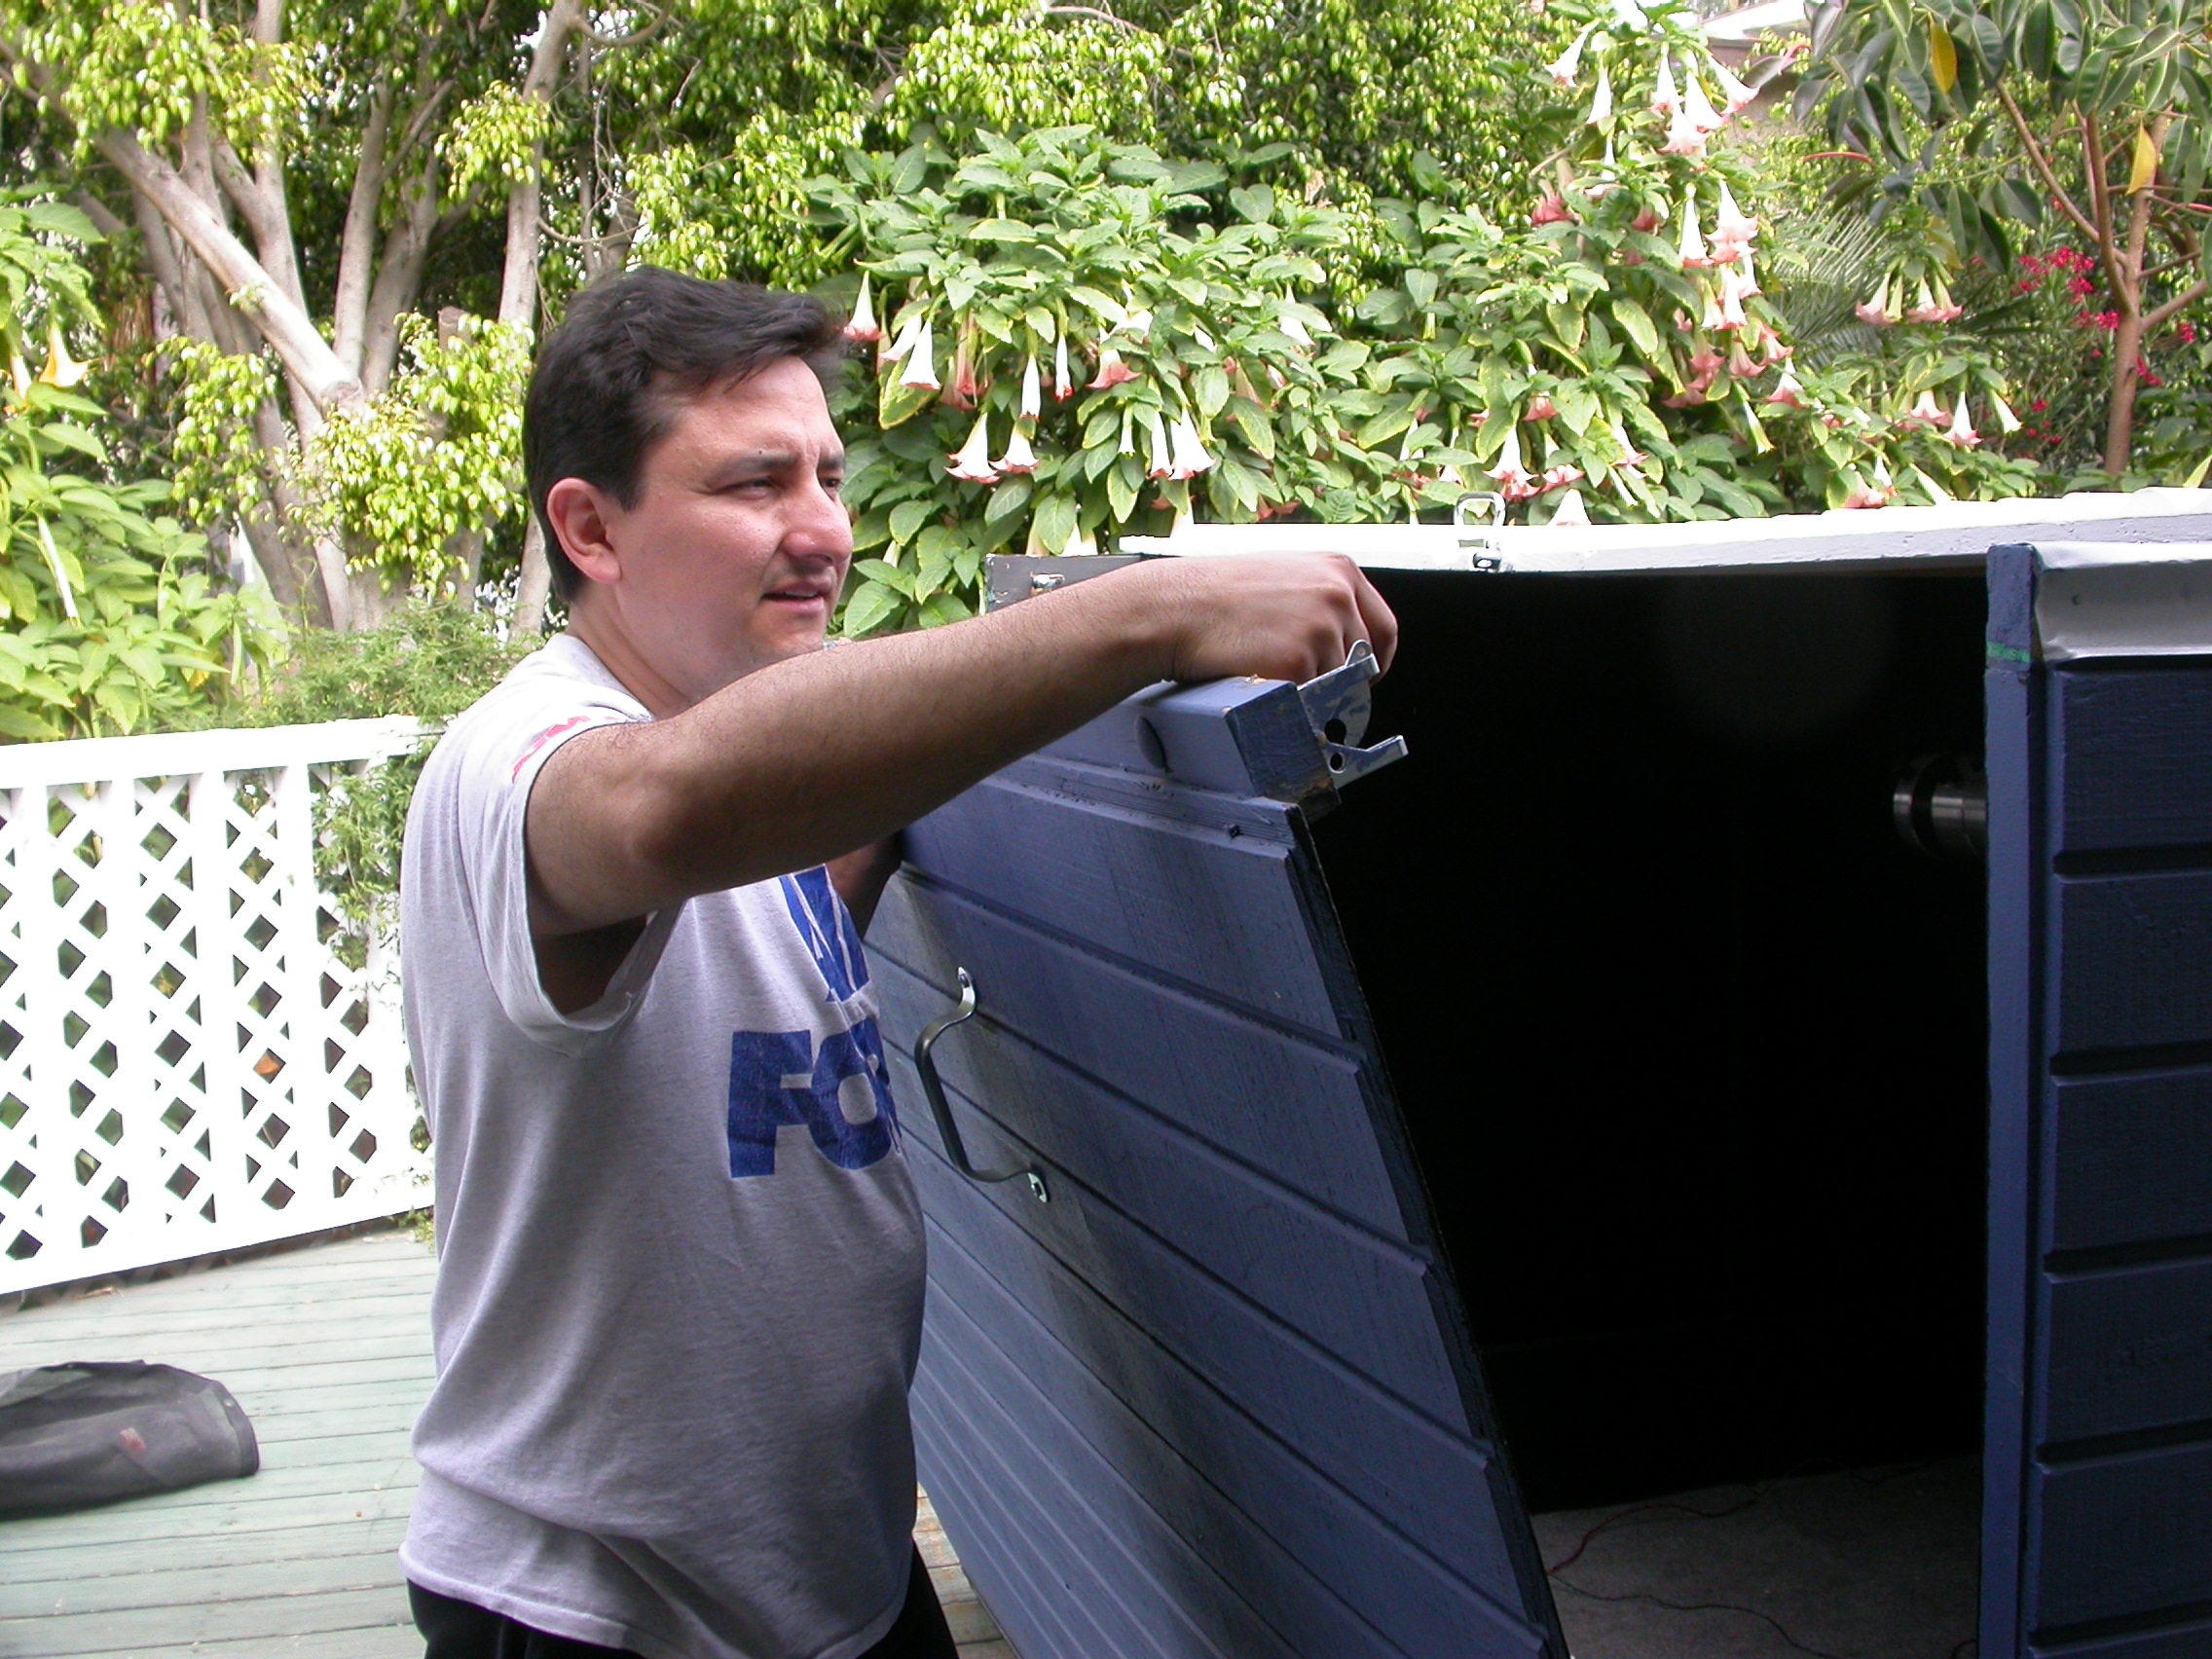
Myself showing how the
"North-Wall" latches into place |
 |
|
 |
|
 |
|
 |
| Shot of the pre
roll-off roof observatory configuration |
|
Telescope and AP
Mount in "park 3" position |
|
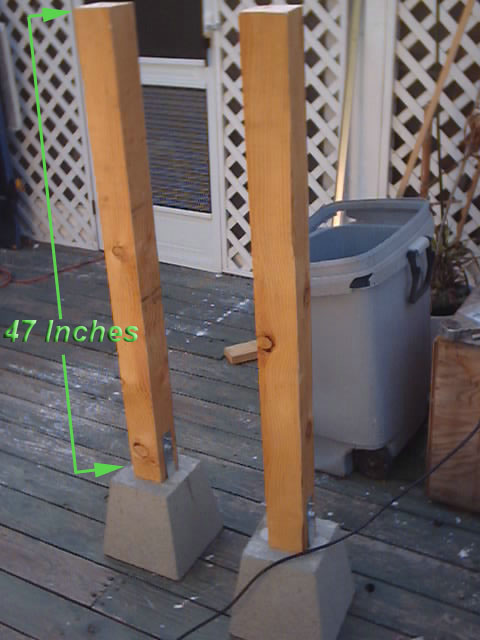
Concrete 10"h
pedestals from Home Depot to serve at feet for roll-off roof |
|
Concrete pedestals
mounted to 3.5"w by 3.5"l by x 47"h support struts |
 |
|
 |
|
 |
|
 |
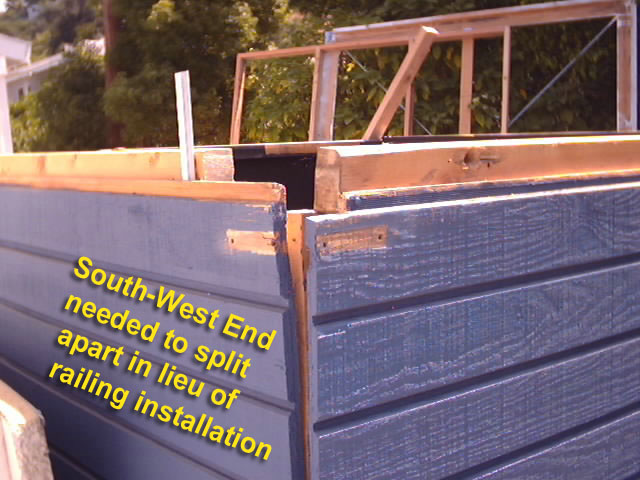
| SW corner of
Observatory walls being modified for roll-off roof construction |
|
SE corner of
Observatory walls being modified for roll-off roof construction |
|
Observatory North
door/wall |
|
NE view of
observatory showing roll-off roof components to install |
 |
|
 |
|
Other
miscellaneous items done: 1.) Cleaned, sanded, and
repainted North and East walls to defeat mildew build-up. Added
anti-Mildew additive to paint; as of May 2006, no sign of recurrence of
mildew.
2.) Added Temp/Humidity sensor to inside of
observatory.
3.) Added USB-CAT5-USB cables and boxes to use
STL-11K remotely; cable can be 165 ft long! |
|
Future Mods:
1.) Add shelve to pier for temporary cable storage.
2.) Add Metal and or plastic box at foot of pier to
contain small astro equipment; ST-7E, WebCam, etc.
3.) Electrify the opening and closing of the
roll-off roof - will need to permanently install north wall and add a door
enclosure |
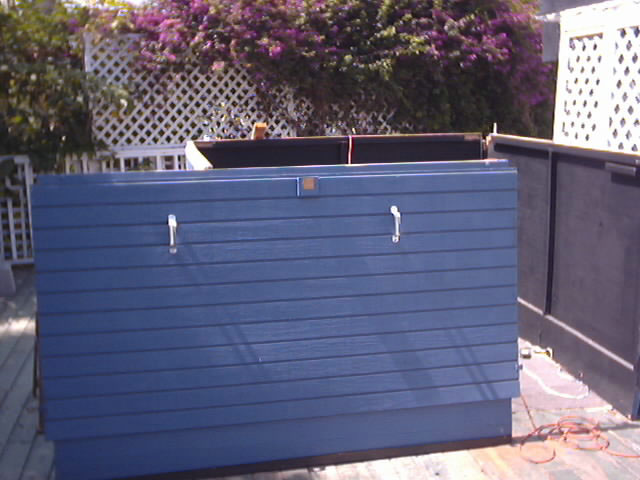
| Finished roll-off roof
modification, image taken 5 July 2004 |
|
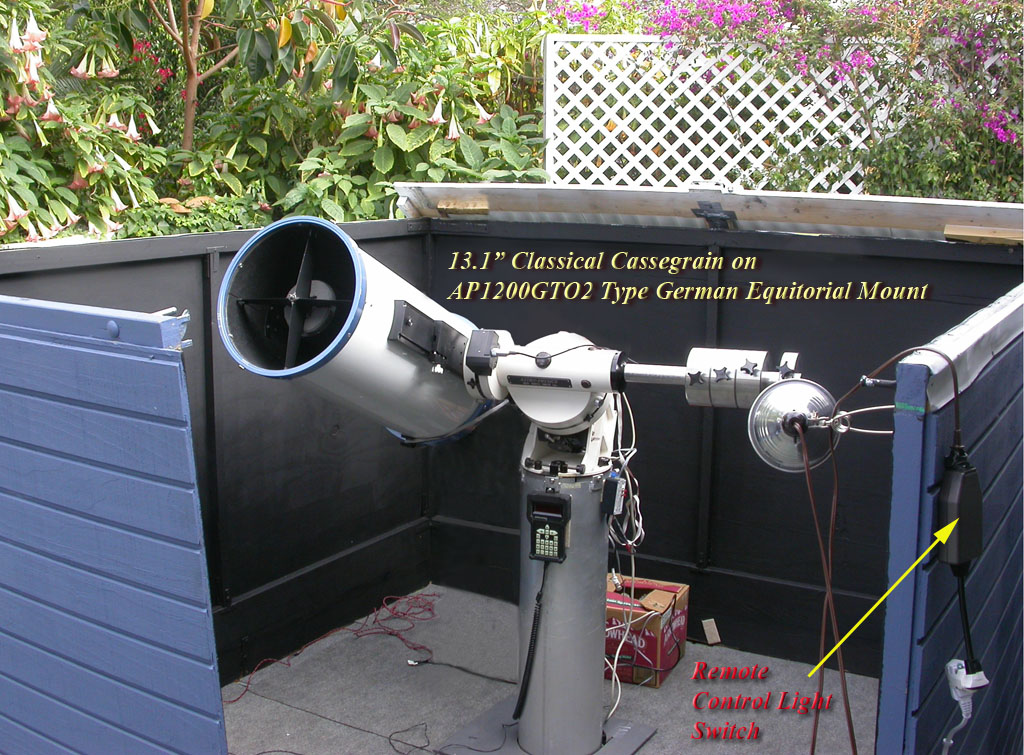
Present Configuration, showing
the addition of a 0.3 amp solar panel for AP mount's marine battery |
|
|
|
|